


1 yard of top fabric
1 yard of coordinating inside fabric
4.5 yards of lace
matching thread
pins
scissors
a large round plate
marker/highlighter
velcro (not pictured)
p.s. i got all my material and supplies at hobby lobby.
First, you fold your two yards of fabric in half, then in half again so that all four corners are in one corner. then lay on top of each other.

cut off the selvage edge.

place your plate in the corner.

Trace around the plate with your marker or highlighter. go from one edge of the fabric to the other making a quarter circle.

Cut out along the highlighted line

make sure the edges are all smooth. it should look like this.

Then lay your two pieces of fabric on top of each other with right sides together.

optional: place your lace in-between the two layers of fabric and pin so that the edge of the lace meets the edge of the two fabrics. pay careful attention to the corners. be very meticulous because it will help you later while sewing. this is the part that took me the longest.


you will have about 1/2 a yard too much lace... so, when you reach the other end, cut so that the lace overlaps by about an inch and then set the rest aside to make the straps.

you will need a gap in the pins to turn the cover right sides out again after sewing so, pick a side that you think will be the most hidden and remove the pins for about a 10 inch section like so.

sew along the pins leaving 1/4-1/2 inch seam allowance depending on how thick the base of your lace is. (mine was 1/4 inches) make sure not to sew along the 10 inch gap you unpinned.


turn right sides together by flipping out of the gap.

now you need to sew the gap shut. do this by folding over both fabrics so they are inside the case, pin together, and sew.


you will be sewing 1/4' away from where the lace and material meet.

This section will look like the top picture, whereas the other sides will look more puffy like the bottom picture.


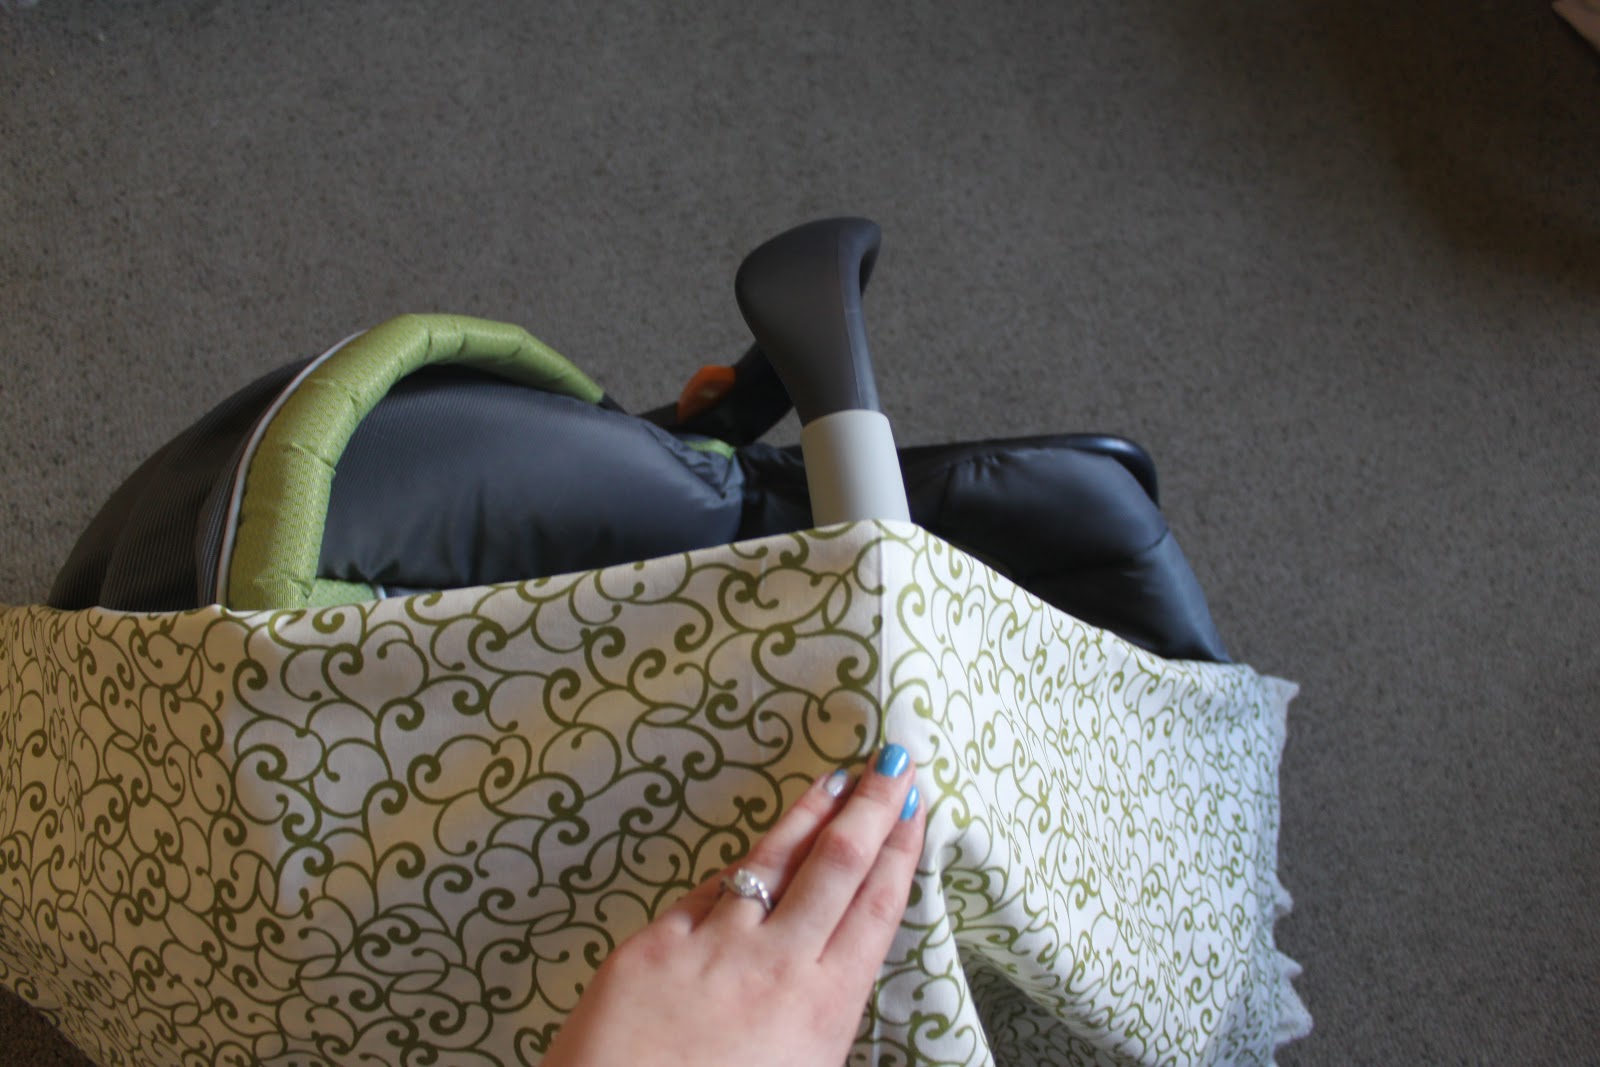
now it is time to sew the straps on, i used the left over lace but you could use any scrap material or buy 1/4 extra yard of one of the fabrics and make it out of that instead. i've also seen button closures or tie closures but i prefer the clean and quick Velcro closure. to do this you first, pick the side you want to be inside, and what you want to be outside. fold the material in half so that the outside is what you see. drape it over the car seat with the lace on bottom and the fold in the very center of the car seat. pin right before the widest part of the handle on both sides of the fold or where you want the two straps to be. (this is completely dependent upon what kind of car seat you have.)

next, cut the left over lace directly in half. these two sections will be your two straps. cut two 2" pieces of velcro. sew velcro onto the ends of the lace so that it makes a circle when closed together. (i recommend pinning the velcro to the ends, and then checking first. it's really easy to match up the wrong ends or the wrong sides of the lace.

sew the velcro onto the lace by sewing along all four edges of the velcro making a square.


pin onto your cover where you pinned earlier.

check to make sure it closes right.

sew along the base of the lace and through the top of the velcro. if you made normal straps, you would sew along both edges in a square.

The 2" seam will look like this on the inside:

Try it on! your done!!


No comments:
Post a Comment